13
Aug

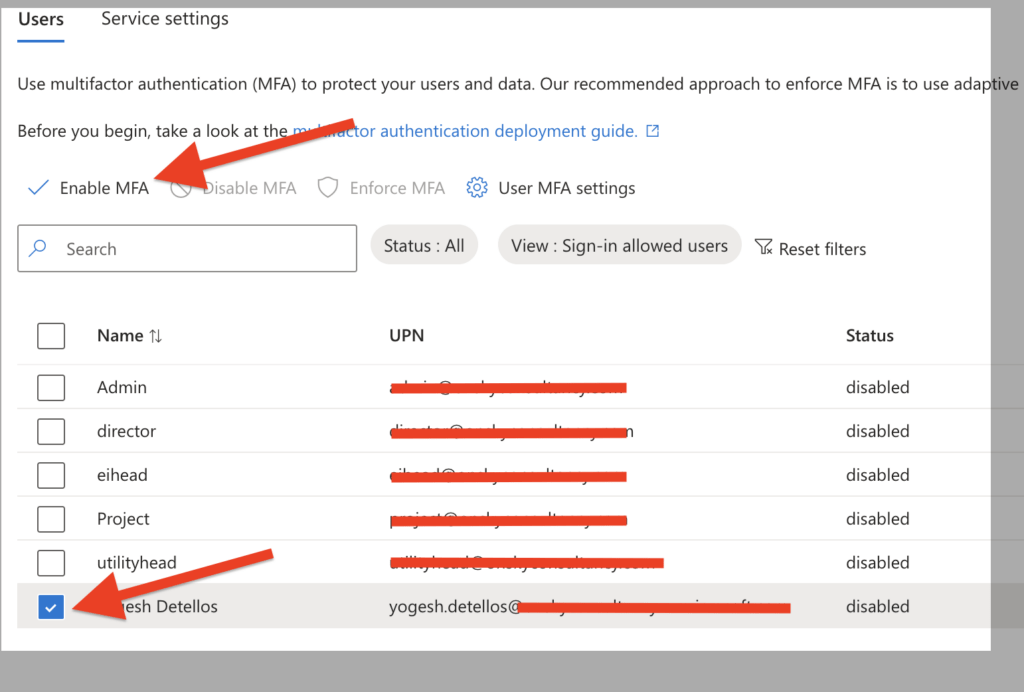
Enable 2-Step Verification GWS-Gmail Users (MFA)

Here’s how you can do it, following Google’s recommended steps:

  1. Sign in to your Google Account: Go to myaccount.google.com and sign in with your company email credentials.
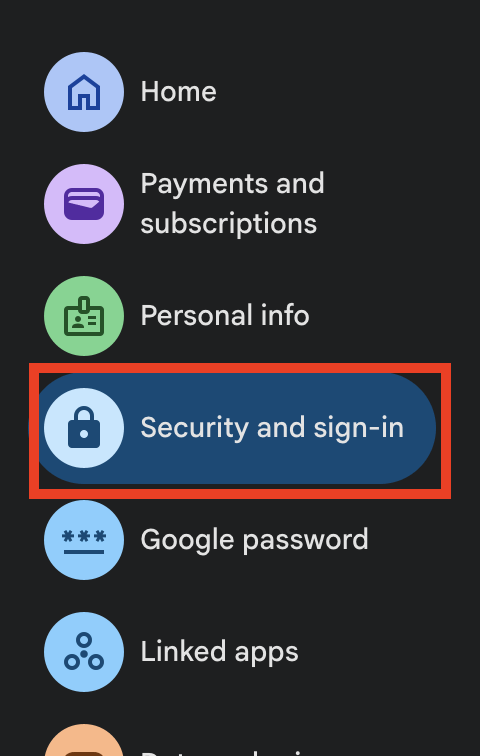
  2. Go to Security: In the left navigation panel, click on “Security.”


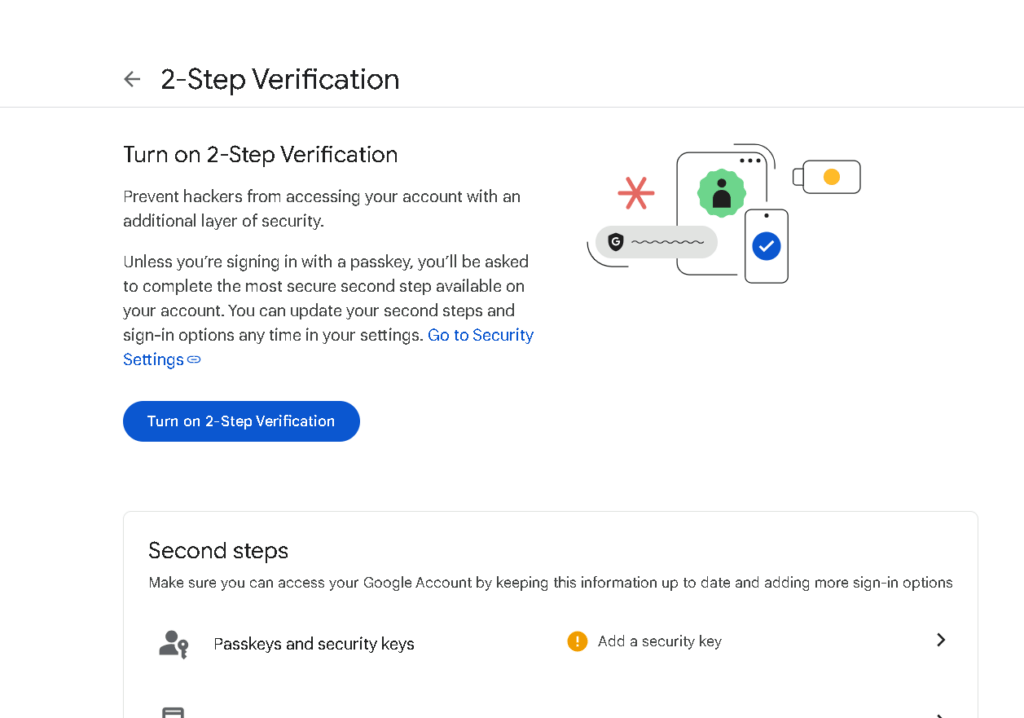
  3. Click on “2-Step Verification.” You may need to sign in again for security purposes.
  4. Turn on 2-Step Verification: Click “Turn on.”
  1. Choose a second step: Google offers several options for 2FA. We recommend using
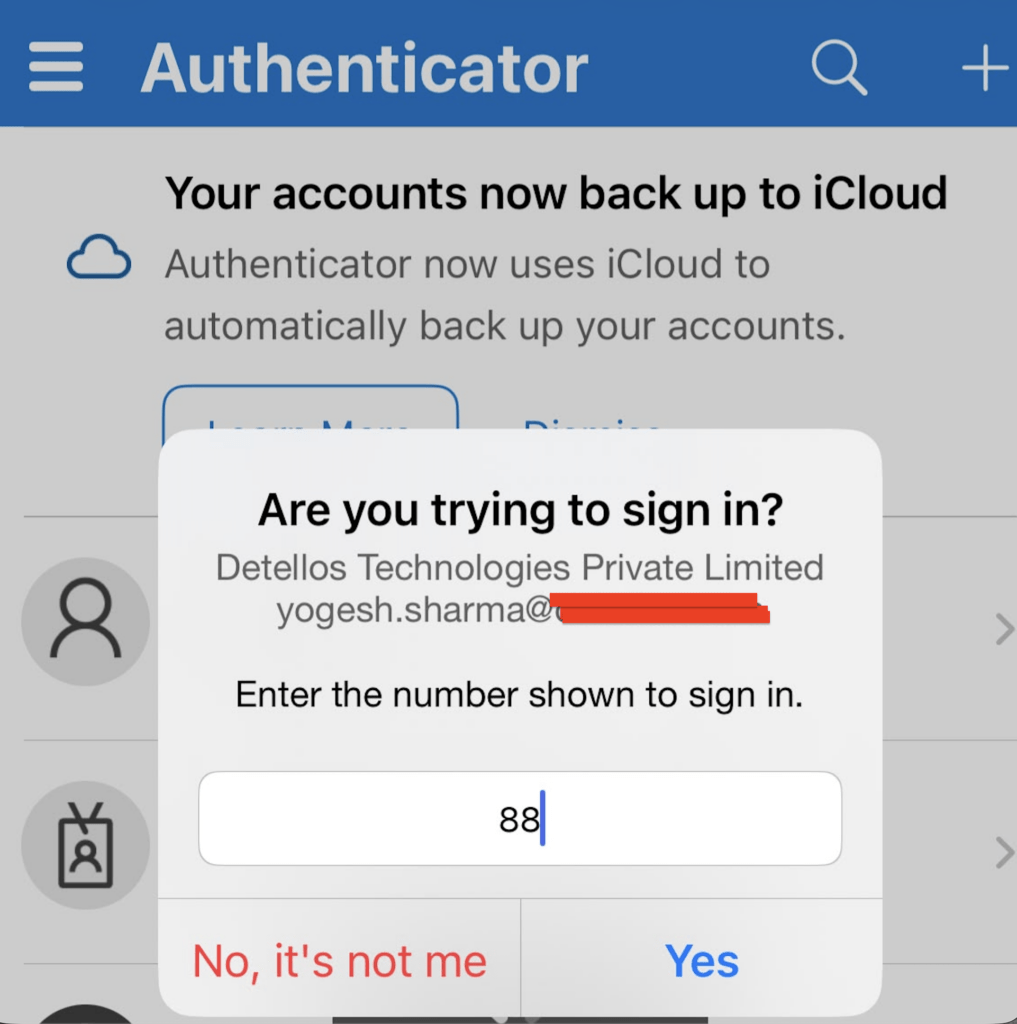
    • Google Prompt (Recommended): This sends a prompt to your phone asking you to tap “Yes” to confirm your login. It’s the easiest and most secure option. If you have a compatible Android or iOS device, this will be the most seamless option.
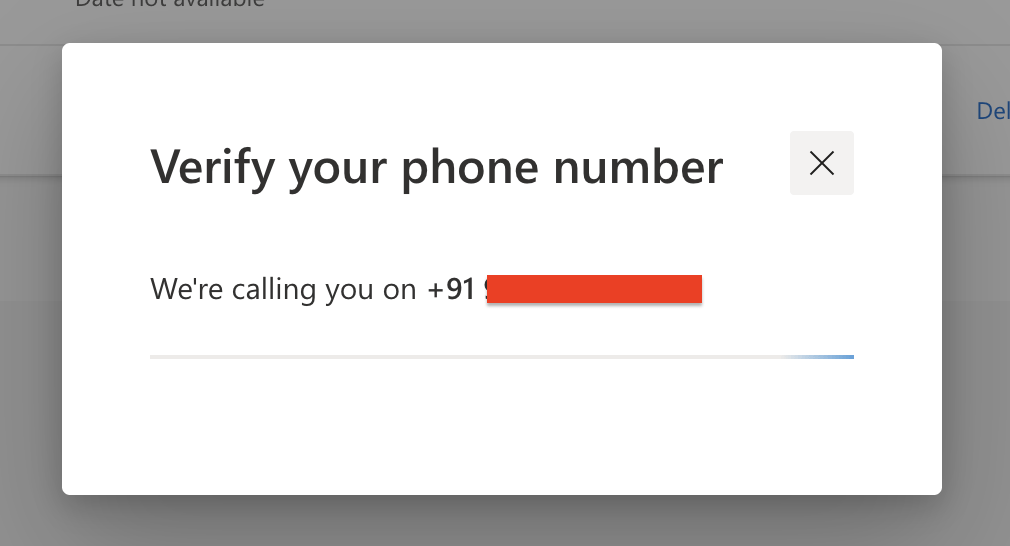
    • Phone number (SMS or voice call): Google can send a verification code to your phone via SMS message or a voice call. This is a good option if you don’t have a smartphone or prefer not to use an app.
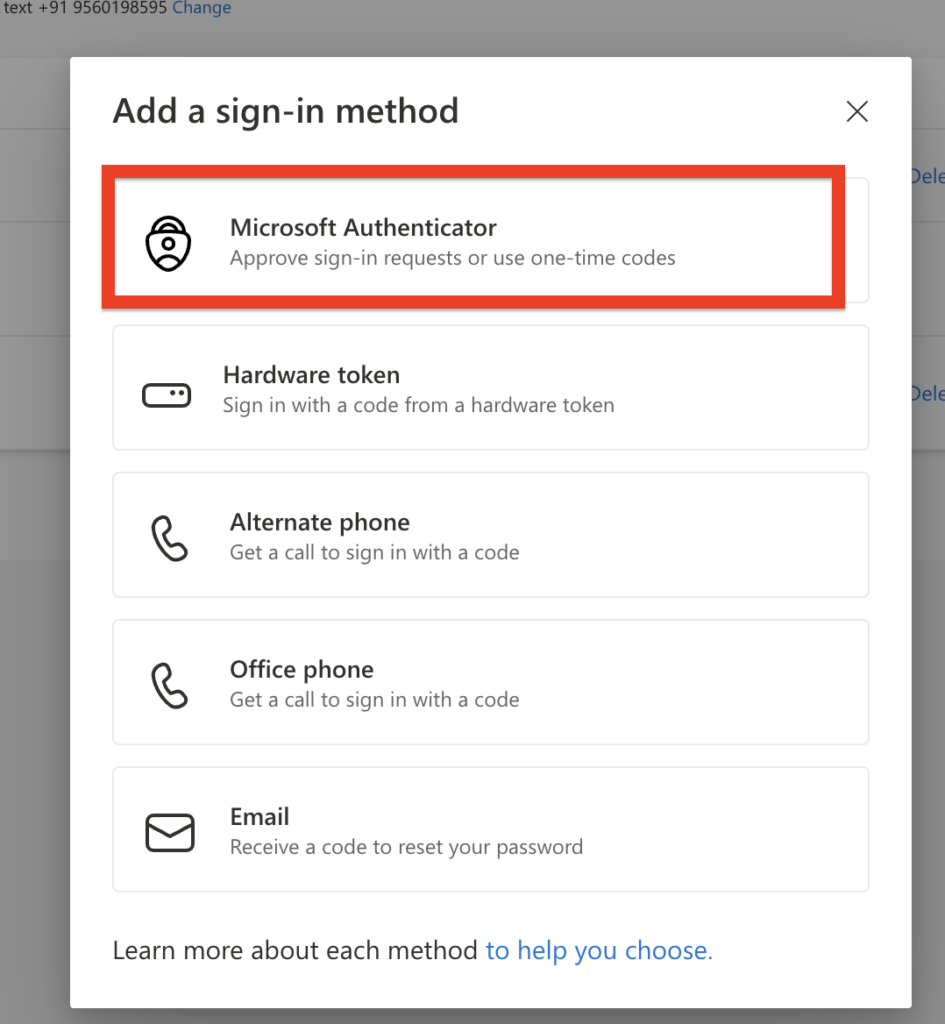
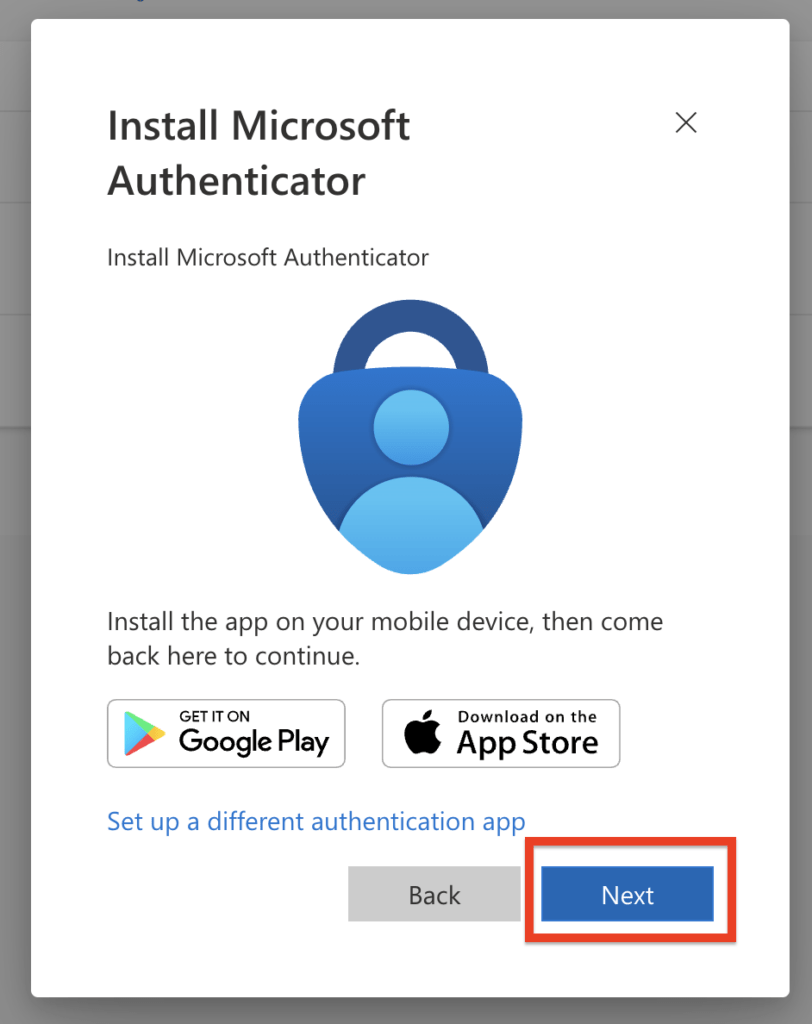
    • Authenticator app: An authenticator app (like Google Authenticator or Authy) generates unique codes on your phone that you enter during login.
  2. Follow the on-screen instructions: Google will guide you through setting up your chosen second step. This might involve installing an app, scanning a QR code, or entering your phone number.
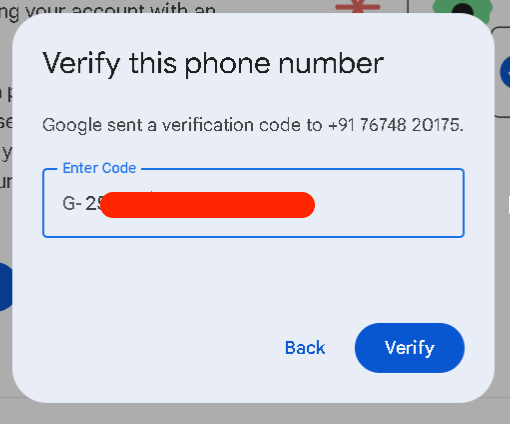
  3. For Phone number (SMS or voice call):
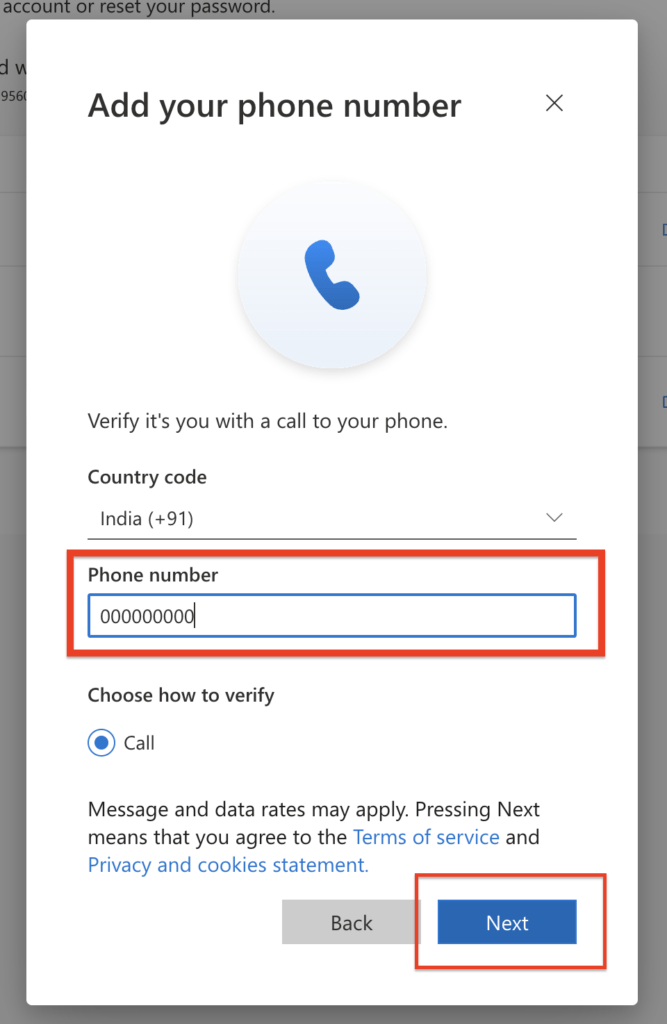
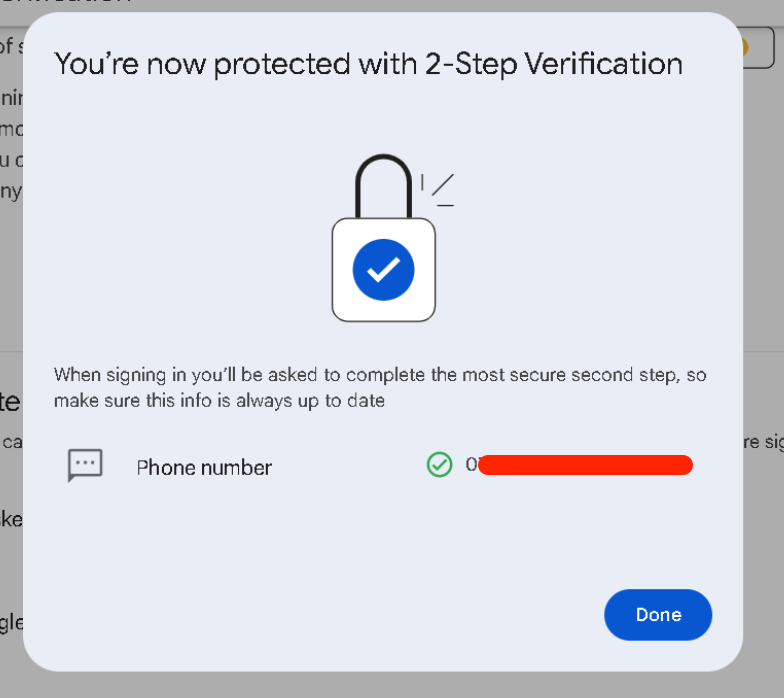
    • Insert your mobile phone number

    • Insert OTP received on your phone and verify
  • Insert OTP received on your phone and verify

8. Again Go to Security: In the left navigation panel, click on “Security.”


a) click on “2-Step Verification.”
b) Turn on 2-Step Verification: Click “Turn on.”

Set Up the Authenticator App

  1. On the 2-Step Verification page, look for the “Authenticator app” section. If you haven’t set it up before, it will likely say “Set up Authenticator”. Click on it.

  2. A pop-up window will appear asking you to choose the type of phone you have (Android or iPhone). Select your phone type and click Next.

Step 3: Link Your Google Account with the Authenticator App

You will now be presented with two ways to link your account:

  • Using a QR Code (Recommended):
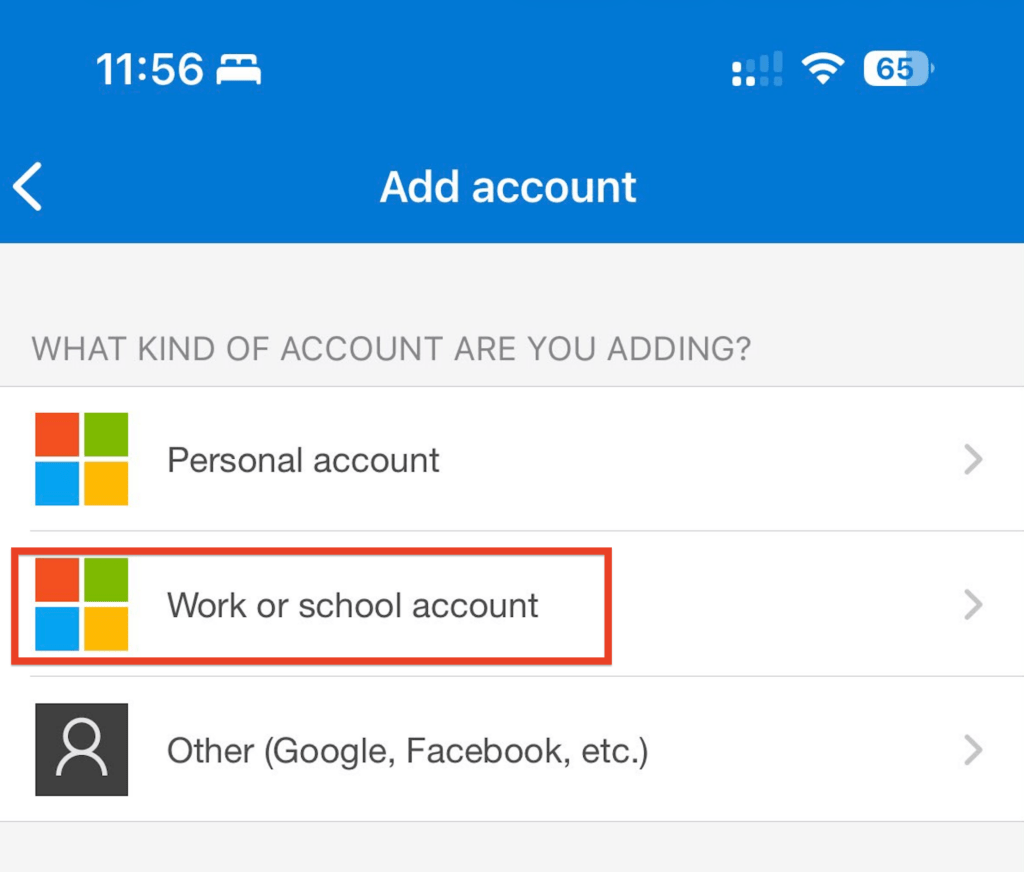
    1. Open the Google Authenticator app on your smartphone.
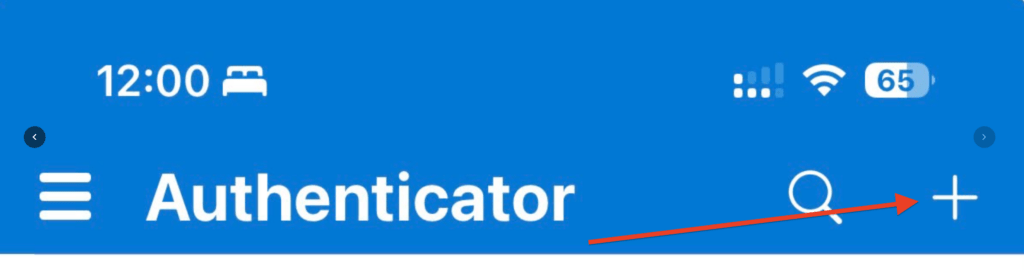
    2. Tap the “+” (plus) icon, usually located at the bottom right of the app.
    3. Select “Scan a QR code”. The app will ask for permission to access your camera. Grant the permission.
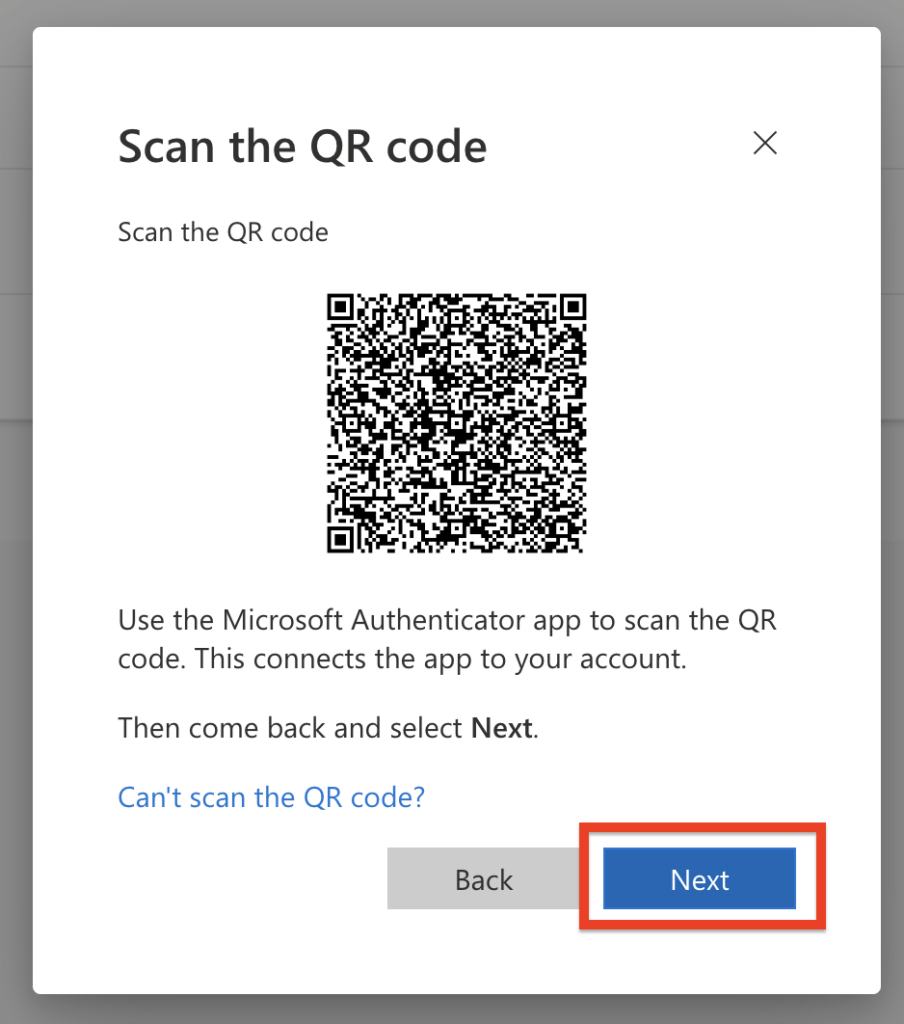
    4. Point your phone’s camera at the QR code displayed on your computer screen (in the browser window from Step 2). Make sure the QR code is within the frame on your phone’s screen.
    5. Once the app successfully scans the QR code, your Google Account will be added to the Authenticator app, and it will start displaying a time-based six-digit verification code.
28
Apr

Complete Guide to Exporting SMTP Addresses from Microsoft 365

Exporting all SMTP addresses (emails and their aliases) from Office 365 (now Microsoft 365) can be essential for various reasons, particularly during migration processes, such as transitioning to another domain.

Below PowerShell Query for exporting all aliases in a CSV

You can use the below PowerShell query to export all email addresses and their aliases in a single CSV as a comma-delimited file. You can use PowerShell ISE or simple PowerShell to run the below cmdlet.

M365 Exchange Online module should be installed on your system first, then connect PowerShell using the below command and follow the onscreen instructions

Connect-ExchangeOnline

Then, Paste the below Cmdlet

Get-EXORecipient -ResultSize Unlimited | Select-Object PrimarySmtpAddress, DisplayName, RecipientType, RecipientTypeDetails, @{Name=”EmailAddresses”; Expression={($_.EmailAddresses | Where-Object {$_ -like “smtp*”} | ForEach-Object {$_ -replace “smtp:”,””}) -join “,”}} | Sort-Object DisplayName | Export-CSV “C:\Temp\All_user_SMPTys.csv”

Create a folder in drive C named “TEMP” or change the path as per your desire but make sure you have access to the path and path should exist. The below cmdlet will export CSV to the location “C:\Temp\” .

Here’s an elaboration on why it’s crucial:

  1. Migration Planning and Mapping: When migrating from one Microsoft 365 domain to another, or even to a different email platform, having a comprehensive list of all SMTP addresses is crucial. This list serves as a mapping file, ensuring that emails are correctly routed from the source to the destination during and after migration. Without an accurate mapping of SMTP addresses, there’s a risk of emails being lost or misdirected during the transition.
  2. Data Integrity and Continuity: Exporting SMTP addresses helps maintain data integrity and ensures continuity of communication during the migration process. By preserving all email addresses associated with user accounts, you can avoid disruptions in email communication and minimize the impact on productivity.
  3. User Identification and Verification: The exported list of SMTP addresses allows for easy identification and verification of users and their corresponding email addresses. This is particularly useful for large organizations with numerous users, ensuring that no email addresses are overlooked or omitted during the migration process.
  4. Compliance and Audit Purposes: Keeping a record of all SMTP addresses may be necessary for compliance with regulatory requirements or internal audit procedures. Having a documented list of email addresses facilitates compliance audits and ensures that all communication channels are accounted for during regulatory inspections or internal reviews.
  5. Troubleshooting and Support: In the event of migration-related issues or post-migration troubleshooting, having access to a complete list of SMTP addresses simplifies the process of identifying and resolving email-related issues. Support teams can use this information to quickly diagnose and address any email routing or delivery issues that may arise.
  6. Documentation and Documentation: Exporting SMTP addresses serves as documentation of the email infrastructure configuration at a specific point in time. This documentation is valuable for future reference, planning future migrations, or making configuration changes to the email environment.
  7. Risk Mitigation: Exporting SMTP addresses mitigates the risk of data loss or disruption during the migration process. By ensuring that all email addresses are accounted for and properly mapped, organizations can minimize the potential impact of migration-related errors or oversights.

In summary, exporting all SMTP addresses from Office 365 is essential for ensuring a smooth and successful migration process, maintaining data integrity, complying with regulatory requirements, and facilitating efficient troubleshooting and support. It’s a critical step in safeguarding email communication and minimizing disruptions during periods of organizational change.

20
Apr

How to Find Emails Using Message ID in Gmail/Google Workspace

Occasionally, users express concern that they are not receiving emails from a particular sender or group, whereas their peers consistently receive those messages.

To thoroughly investigate, obtaining the message ID of the specific email is essential for locating it within the inbox. Consequently, the following criteria must be satisfied to effectively search for an email using its message ID. You will need to acquire the message ID from your colleague.

  1. The affected user should be in the cc/bcc/to of the same email sender from his/her colleague who received the email
  2. Email should be delivered via a group (Google Group/O365 group/distribution list, etc)
  3. You can also get the message ID of the email from your administrator from an email log search.

How to Get Message Id from Gmail / Google workspace mailbox

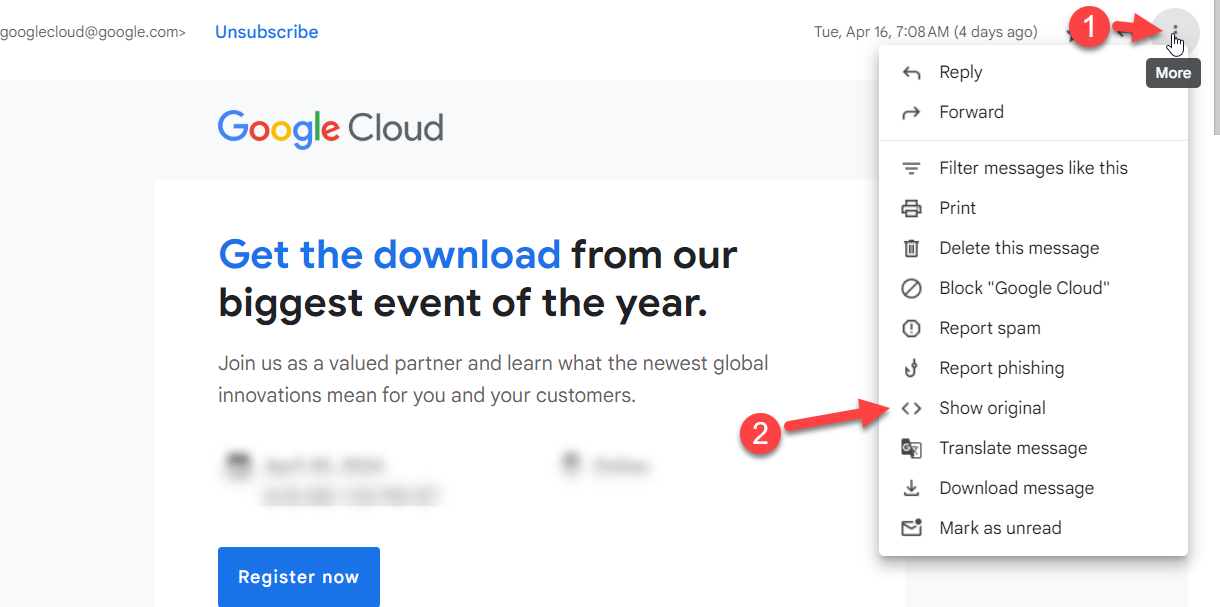
  1. Open the browser, open Gmail.
  2. Open the email you want to find the message id.
  3. Next to Reply, click More. Show original.
    • Search message id
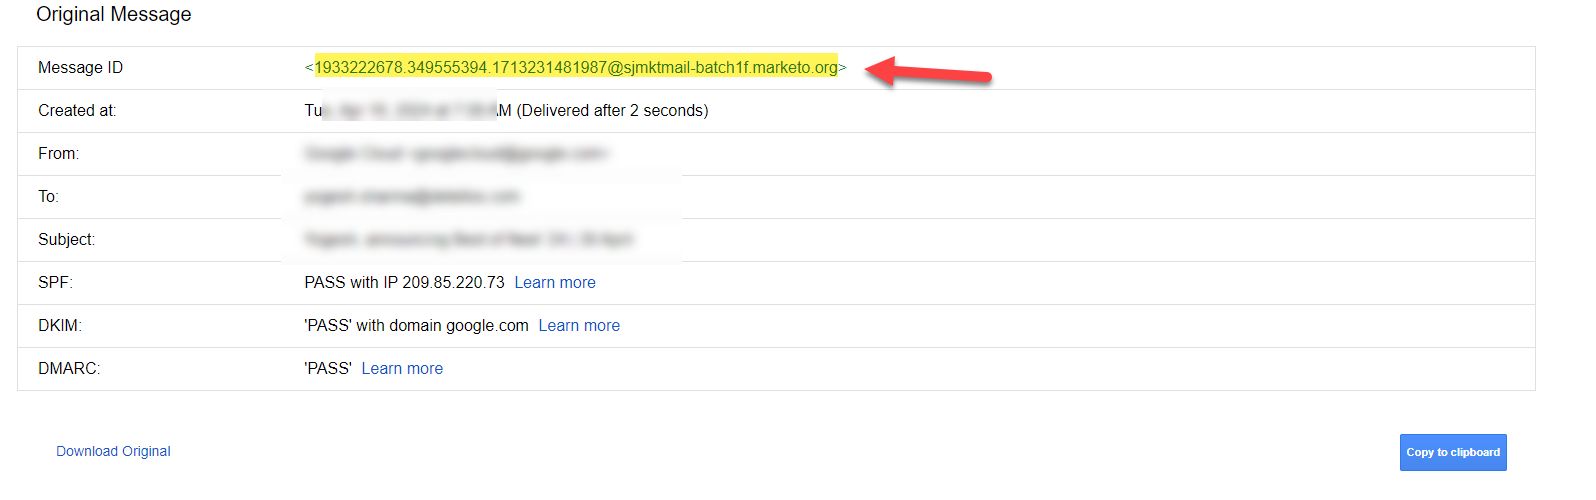
  4. In a new window, the full header shows.
  5. Copy the message ID, do not copy the brackets.


    If you want to download the full message header, then
    • Click Copy to clipboard and save to Notepad.
    • Or click the Download header        

Search email in Mailbox using message id

  1. Open a Browser, and go to Gmail.
  2. Click on the “search in the mail” in the search bar.
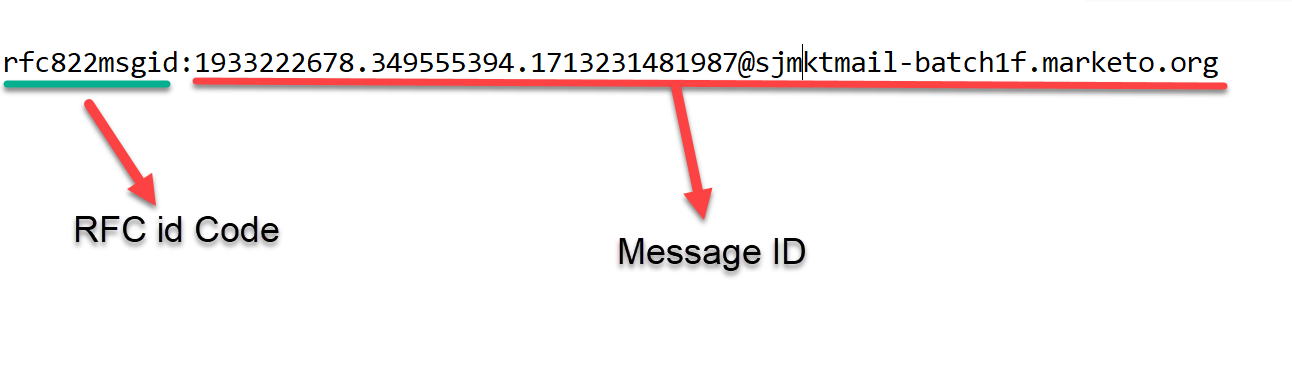
  3. Past the below string, with message-id copied from the above steps
    1. rfc822msgid:msgeid

For eg

rfc822msgid:1933222678.349555394.1713231481987@sjmktmail-batch1f.marketo.org

4. Press Enter